Environmental Portraiture
Tips
for Improving Outdoor Portraits
Location
One of the great things about outdoor
portrait photography is that you can shoot almost anywhere, from your back
garden to a glorious tropical beach. But it’s important to know how to get the
most out of any location you choose.
There are few hard and fast rules when
it comes to working a location. If the location adds to your portrait, you can
include the background, but if the location isn’t particularly photogenic, try
using limited depth of field or tight framing to concentrate attention on your
subject.
For the most striking portraits, it’s
often best to keep things simple, so try to shoot against uncluttered
backgrounds such as the sky, a wall or foliage. This will help your subject
stand out.
However, like most rules, there are
times when it’s best to break them – particularly when you’re shooting
environmental portraits where you want to show the surroundings almost as much
as the subject itself.
Composition and framing
Try to position either your subject’s
face (on a half or full-length portrait) or eyes (on a head-and-shoulders or
close-up shot) using the rule of thirds. This gives a much more balanced
composition than if they are in the centre of the frame.
How to make the most of natural light
Bright summer sunshine might seem like
the perfect light for shooting outdoor portraits, but these conditions can also
produce the least successful results. With the sun high in the sky, ugly
shadows will appear under your subject’s nose, chin and eye sockets.
01 Find yourself some shade
A simple solution is to position your
model in a shady area. Don’t forget to watch the white balance setting though.
If the background is still in bright sunlight it can make your model’s skin
look too blue, because it will choose a daylight white balance, rather than
shade.
02 Wait for some cloud
If you can’t find any shade, and there
are some clouds in the sky, you can try waiting for the sun to disappear behind
cloud for a natural diffused effect.
Shooting in changing light means that
you’ll need to work quickly to get your shots though, and you also need to
watch the exposure.
Make sure that you set the exposure for
the model, rather than a bright or dark background.
03 Diffuse the light
If there aren’t any clouds to diffuse
harsh light, you can get a similar effect by holding a diffuser between the
subject and the sun. The diffuser can be as simple as a piece of translucent
white cloth or one made specifically for the purpose.
This works very well for
head-and-shoulders portraits, but it can be impossible to find a big enough
diffuser to diffuse the light for a half- or full-length shot.
Even for head-and-shoulders shots
you’ll find it much easier if you have a willing assistant to hold the diffuser
in position.
04 Shoot into the light
For a completely different look, try
getting your model to face away from the sun, and shoot into the light. You’ll
need to avoid under-exposure, because the bright background will fool your
camera’s meter. Try using
+1 or +2 stops of Exposure Compensation
05 Reflectors
If you find that there are shadows on
your model’s face, or it’s simply a bit too dark, using a reflector is one of
the simplest ways to add some light. These come with white, silver or gold
surfaces, which reflect light in different ways for slightly different effects.
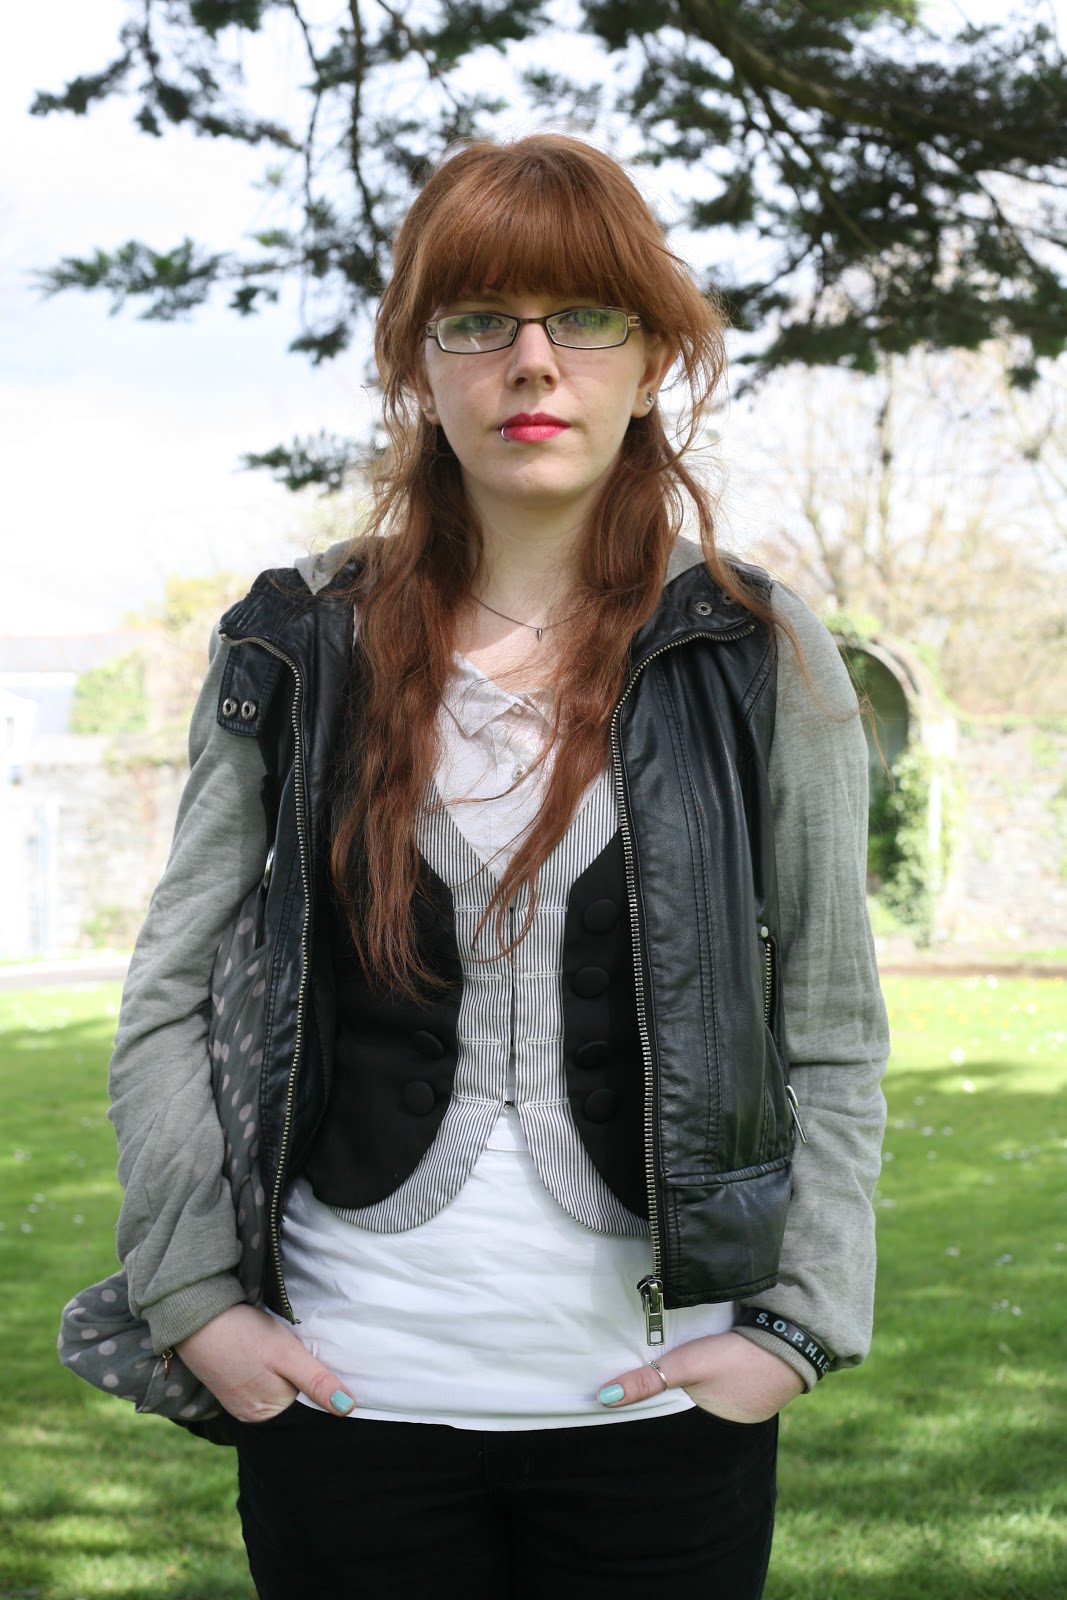
Here are some of the outdoor portraits we took with Dara. He showed us some techniques to use and different ways to achieve lighting effects for our shots. We met again on the lawn to reconvene for our afternoon photoshoot!